Simplifying the process with Node-Red
While we have previously published two articles detailing how to set up Node-Red to allow you to interact with the S1SEVEN API here and here, which will enable you to customize the workflow in any way you want, in most cases, a quick and easy option is preferable to a highly configurable but more complex option.
We have created and published a custom module that can be installed directly in Node-Red, allowing you to interact with the API via the UI. To get started, make sure you have Node-Red set up (if necessary, follow the instructions here).
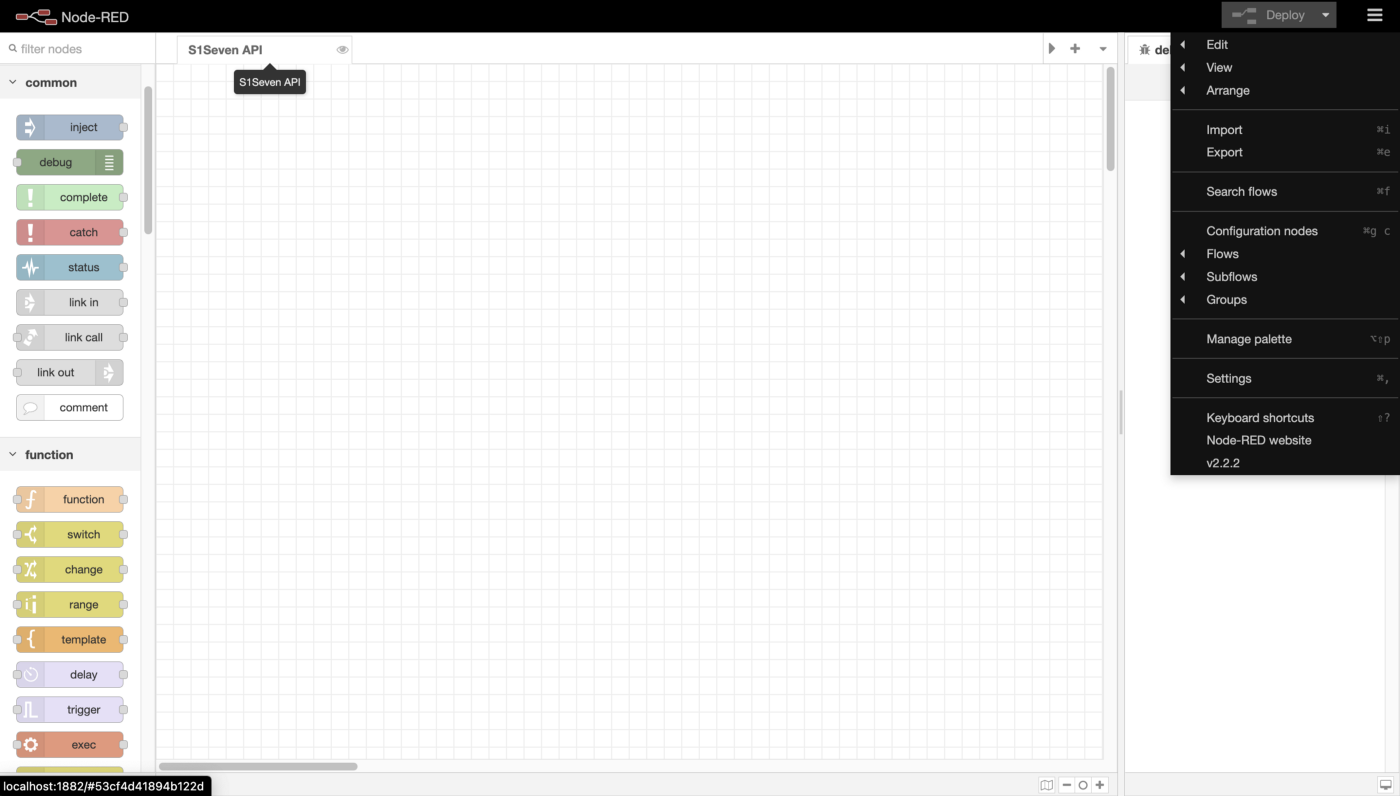
To install our custom node, click on the menu button on the top right, then choose Manage palette.
Manage palette menu option
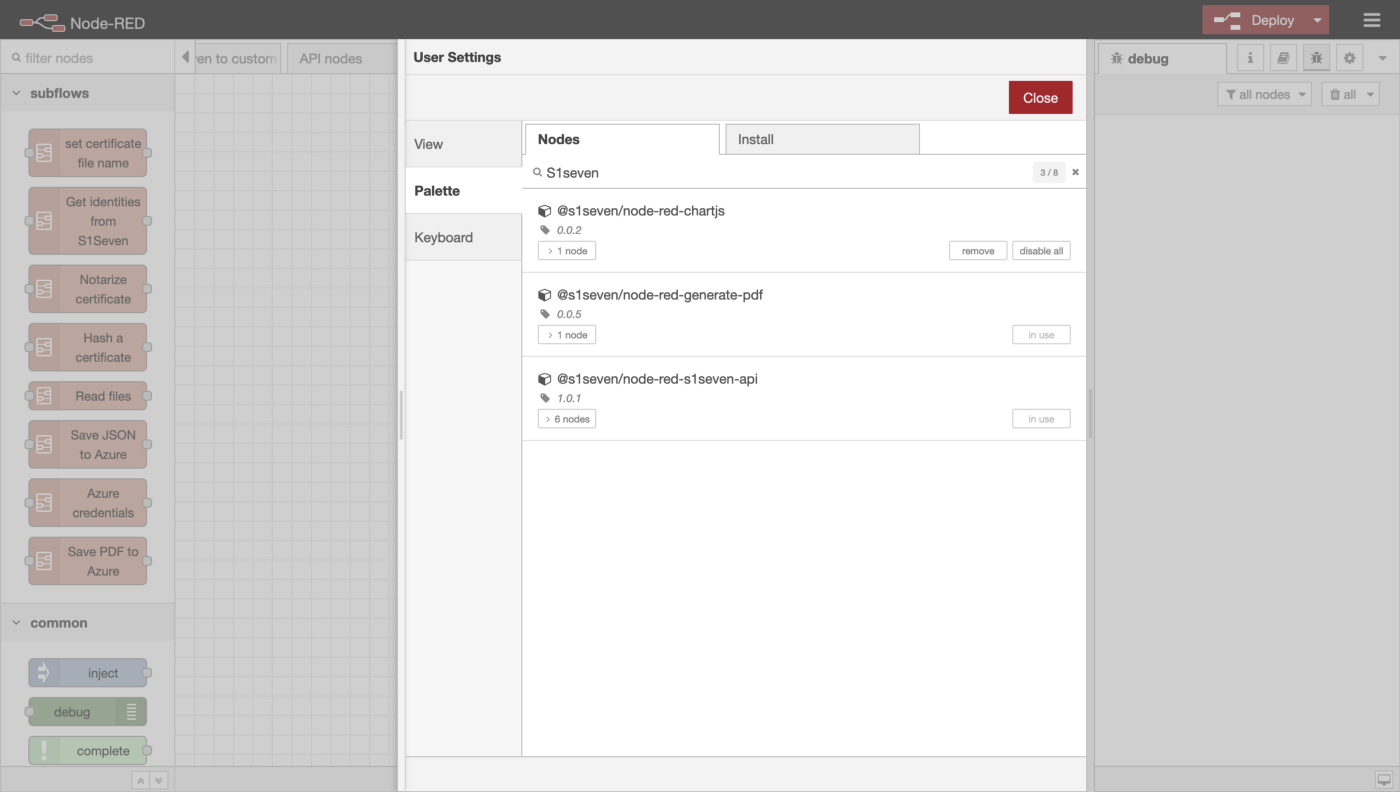
Open the Install tab and type in S1Seven. Choose the @s1seven/node-red-s1seven-api node and click install.
Installing a node
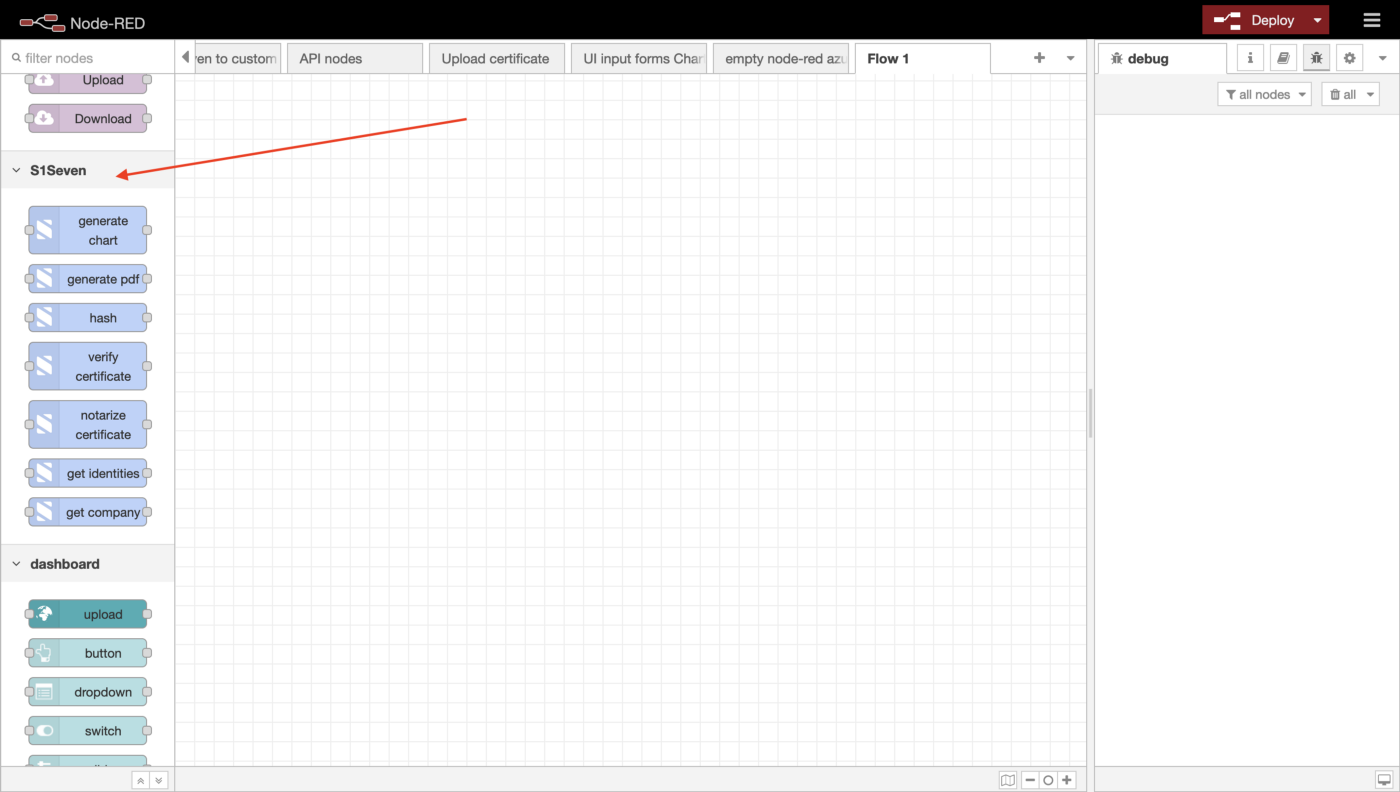
This will add a custom S1Seven section to the left sidebar containing several custom nodes.
S1SEVEN custom nodes
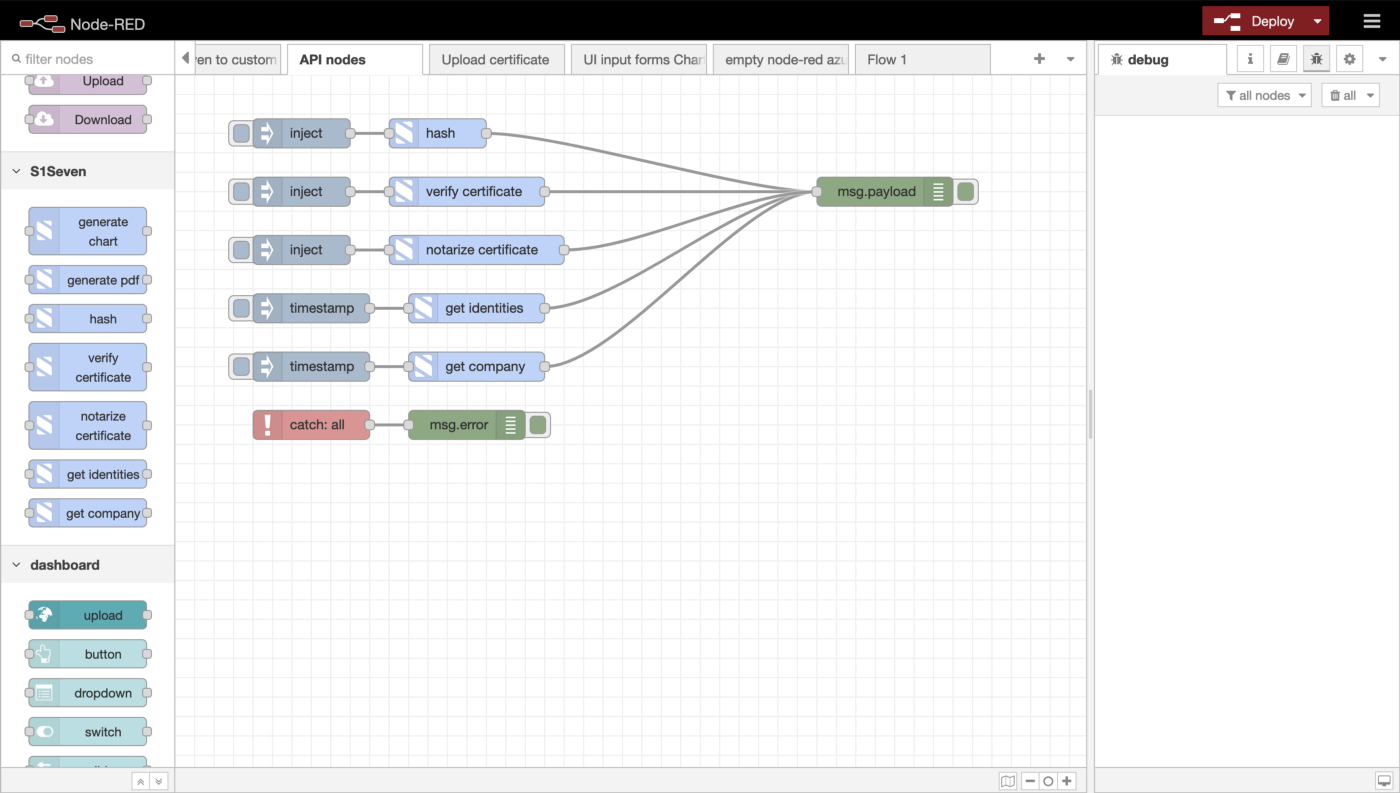
These nodes can be easily connected to an inject node and a debug node. In the example below, all the api nodes are connected to show how it can be done, but you should connect only the nodes you want to use.
Example using our API nodes
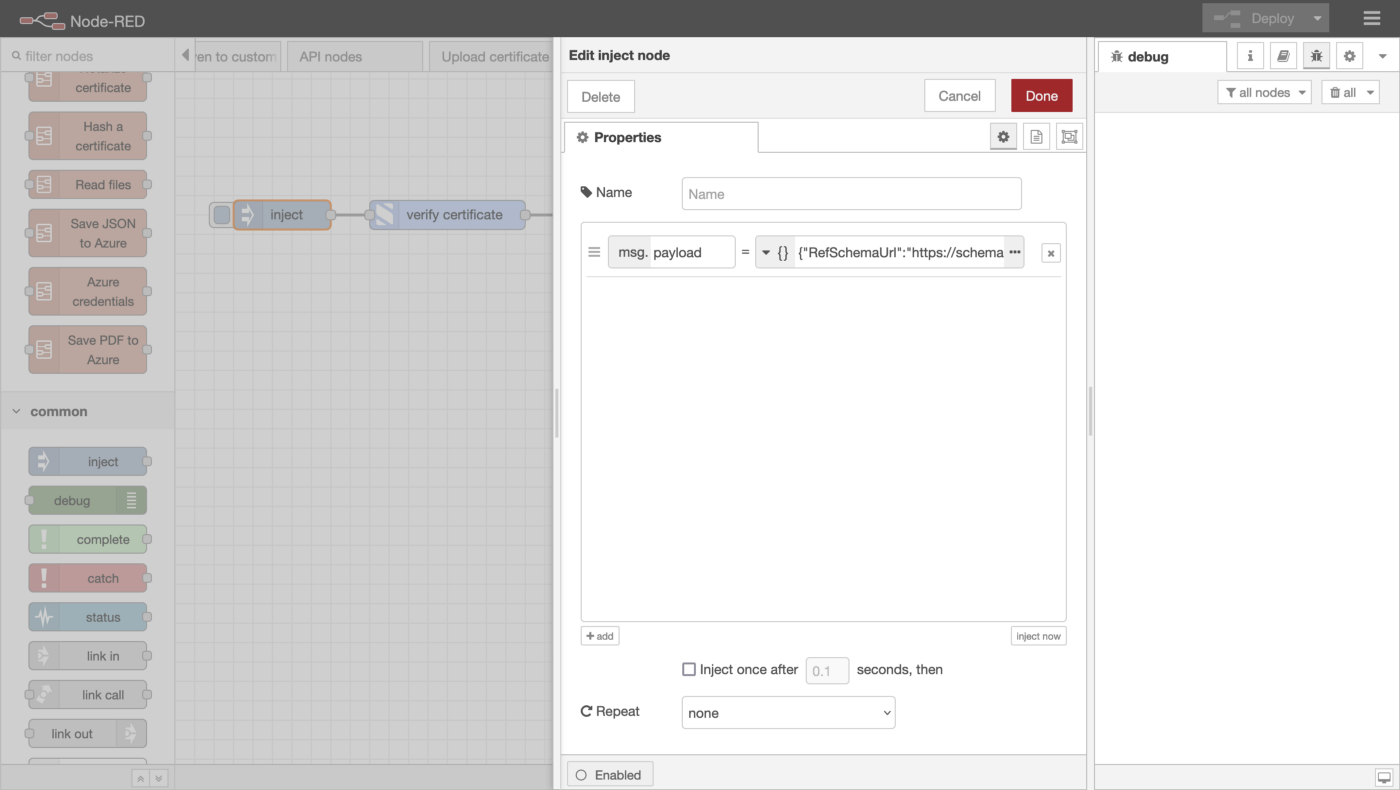
To keep the example as simple as possible, we will inject the certificate via the inject node, as you can see in the following screenshot:
Double-click on the inject node and paste the certificate beside msg.payload
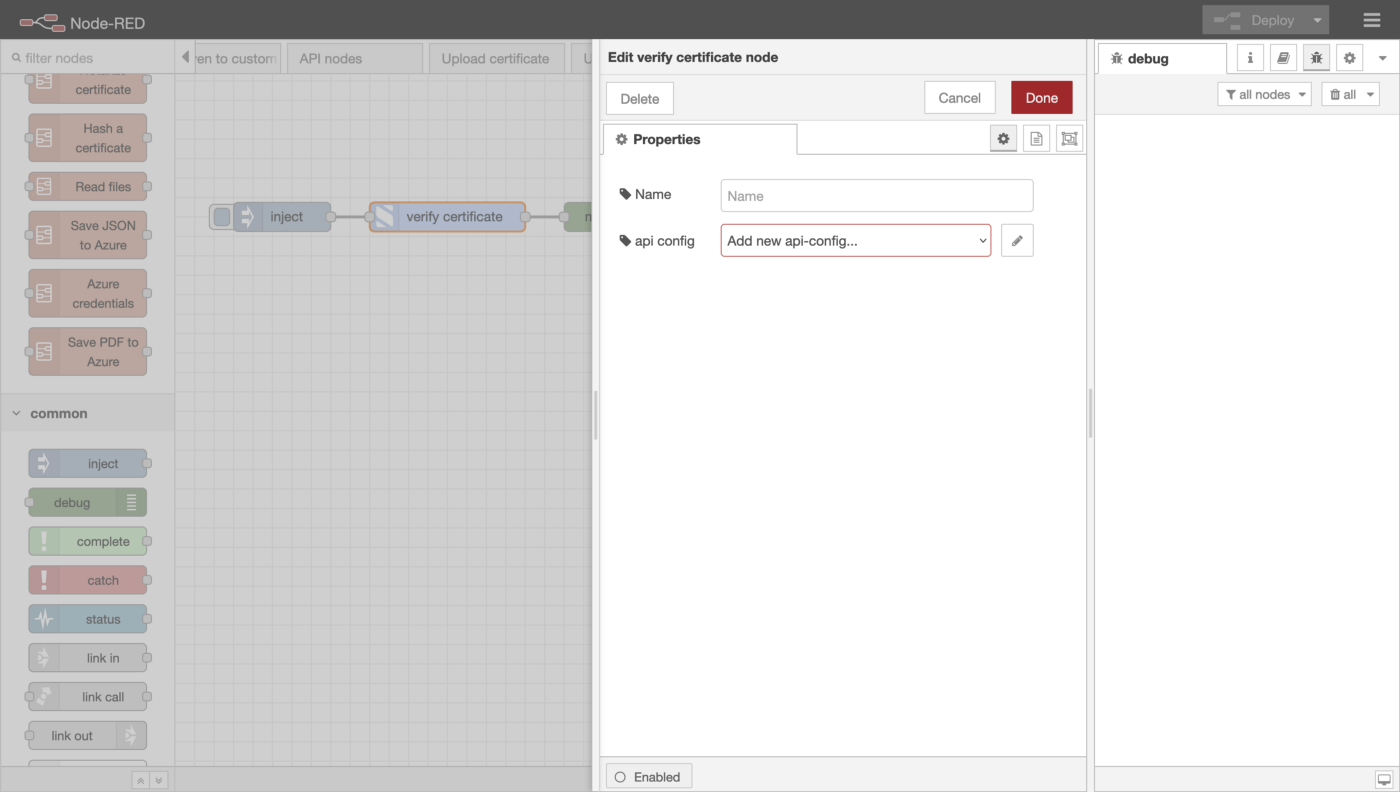
Double-click on the api node that you want to configure. In this example, we will configure the verify certificate node.
Adding a new API configuration
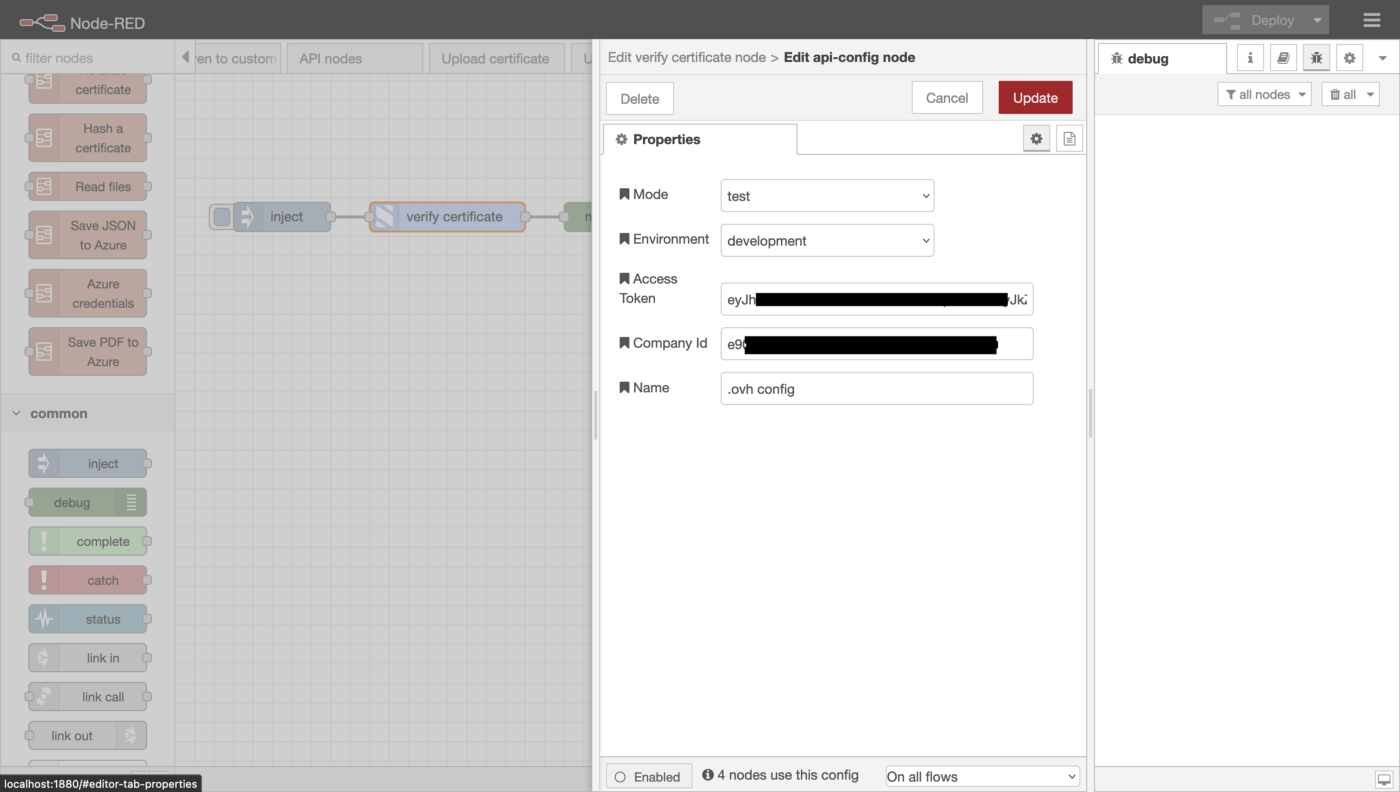
Select the option Add new api-config…, and click the edit button beside it (the one that looks like a pencil). Here you can configure the environment you want to work with, for example, development or staging.
Fill out all the options using your desired configuration, add a memorable name and click done. You can find more information on how to generate an access token in the S1SEVEN user manual.
API configuration example
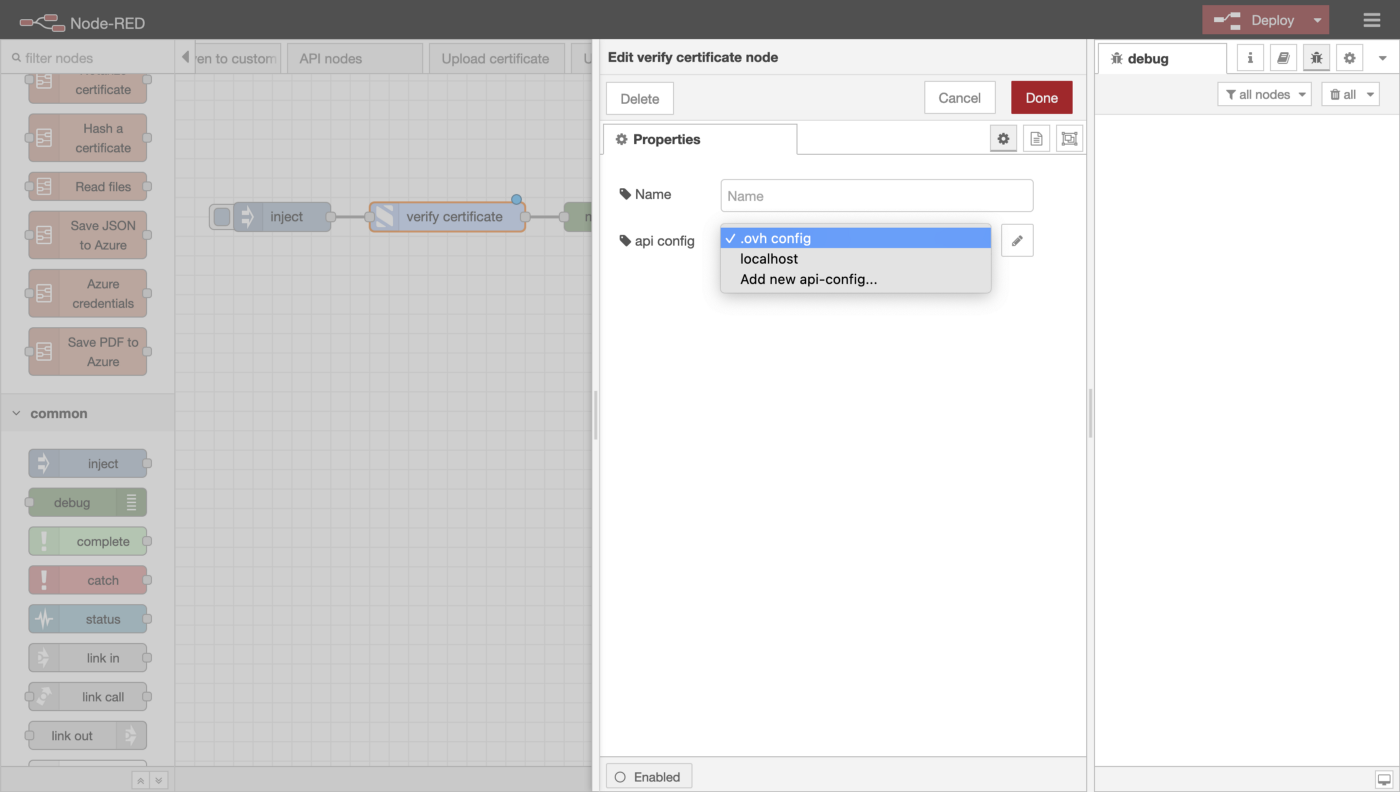
Make sure that your desired environment is selected:
Select an API configuration
Then click the inject button to verify your certificate. You should see the result of the request in the debug panel to the right.
Conclusion
In the example above, we have shown you how to configure and use the verify certificate node. The other nodes can be configured in the same way. Each node may require different information; for example, the notarize certificate node also requires you to input an identity. Information on how to find this information can be found in the S1SEVEN user manual.

 Eamon O'Callaghan